If you decide to sell your Mac, you need to prepare the device for transfer to the new owner: clear personal data and restore it to a state close to the new one. We will tell you what you need to consider when selling a computer.
Why Clean Up Your Mac Before Selling
Confidentiality. All personal data (photos, videos, notes, documents) must be deleted so that they do not end up with the new user of your Mac.
Restoration to a new state. A Mac with a clean operating system runs significantly faster than a one-year-old macOS, which is overgrown with programs and services at startup. Unlike Windows, for which reinstalling the system is an annual ritual, there is no need to reset the Mac just like that. However, after reinstalling macOS, the computer runs much faster — almost like new, so its demand will be higher. Especially if you also looked after your computer: you cleaned it from dust and changed the thermal paste on the processor in time.
Sign out of Apple services. Before selling your Mac, be sure to sign out of your Apple ID, iMessage, and deauthorize your computer in iTunes (Apple Music) — this is confidential data that only you should have access to. Otherwise, if you do not reset the device to factory settings, then present your current subscriptions to the new owner. In addition, if you do not sign out of your Apple ID but reset your Mac, the customer will not be able to use the computer because the device will remain linked to your Apple account.
How to Factory Reset Mac — Two Ways
Delete macOS account
Removing your account without resetting your computer is the fastest and easiest way, but it’s only recommended if you don’t have time to reinstall macOS. By deleting your account, you are not cleaning up your system files.
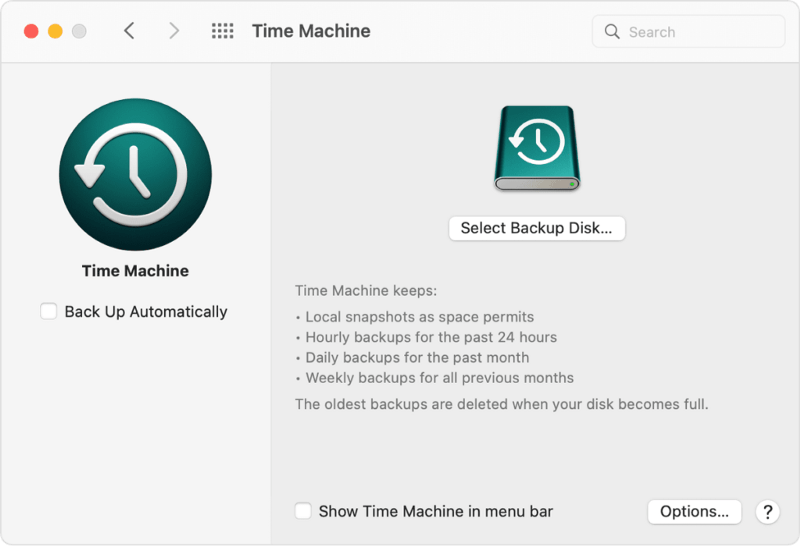
1. Make a backup so that you can restore your data to your new Mac (for example, using Time Machine).
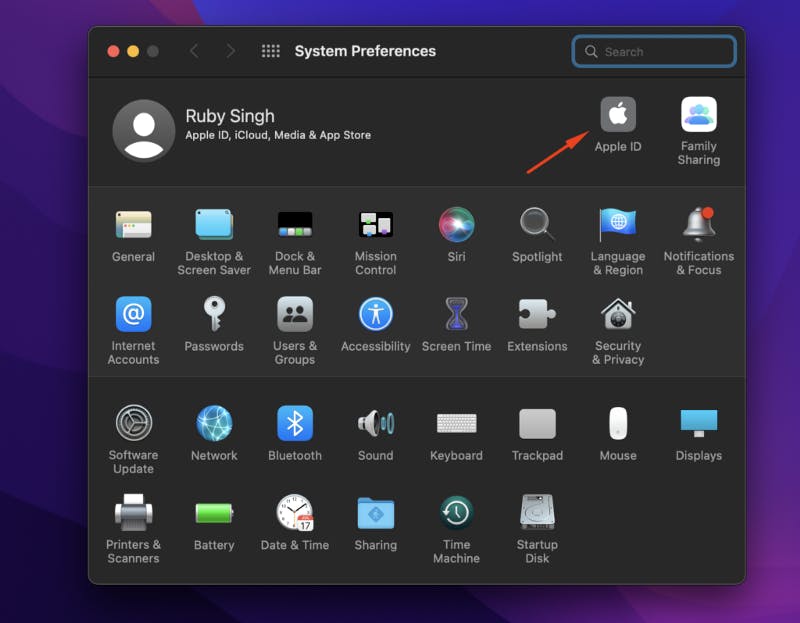
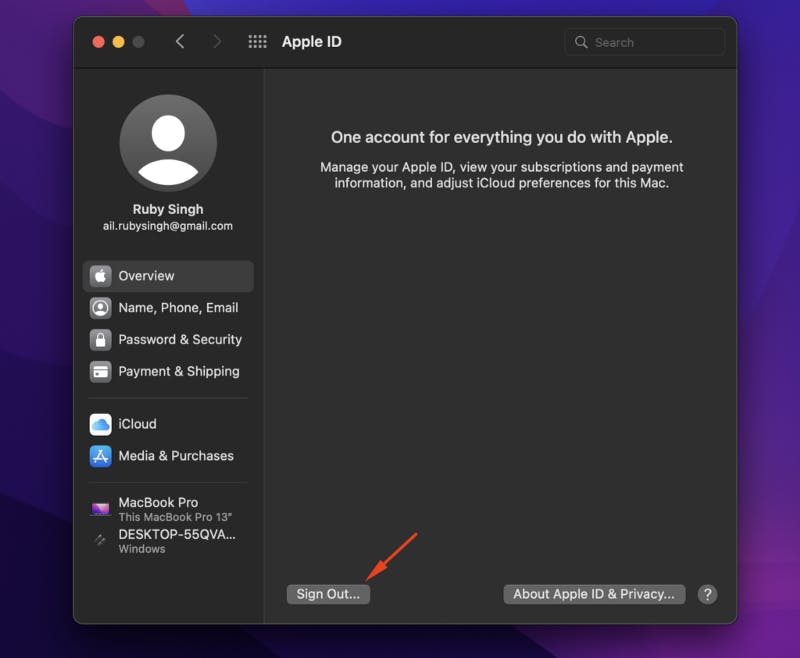
2. Sign out of Apple ID: open Settings — Apple ID and then Sign Out.
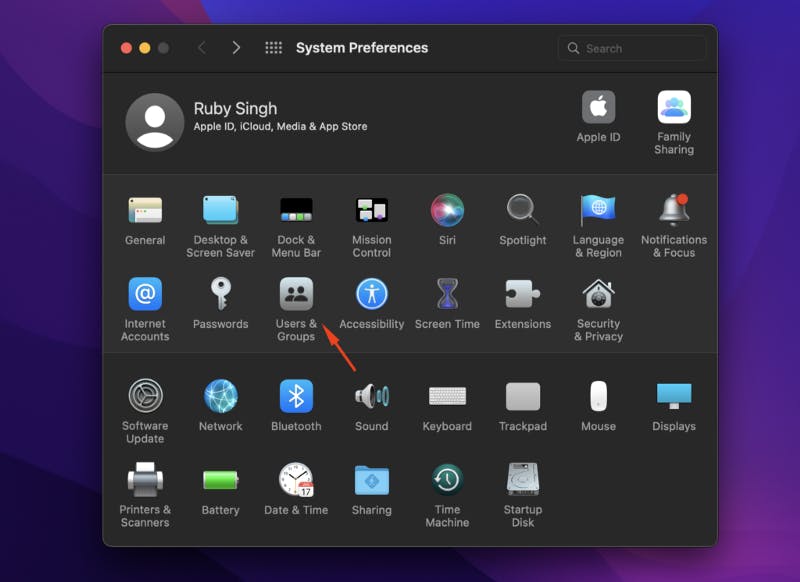
3. Create a new user with administrator rights. To do this, go to Settings — Users and Groups, click on the lock icon in the lower-left corner, and confirm the rights with the current user’s password. Click the plus to add a new user.
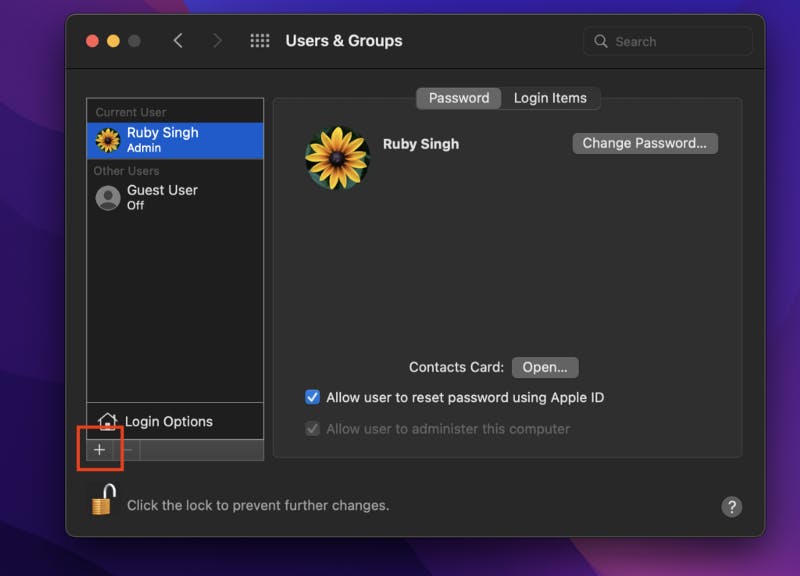
4. Set any username, password and select the “Administrator” option.
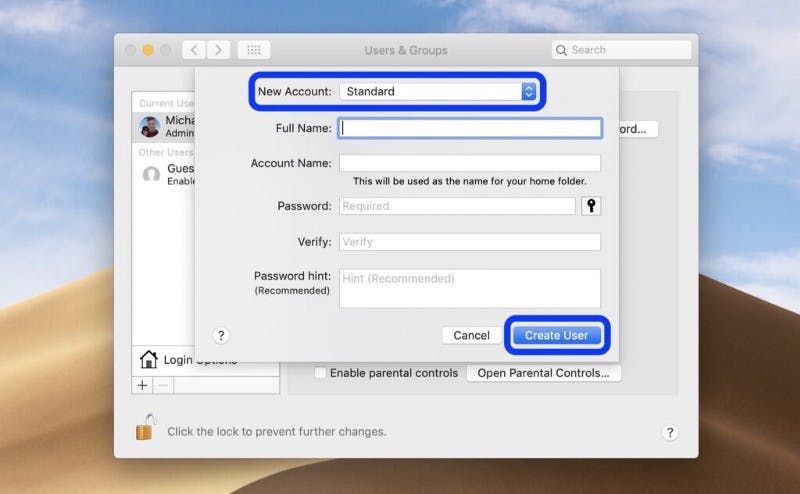
5. Creating an administrator on macOS.
6. Delete all data outside of Documents, Downloads, and Desktop.
7. Log in as a new user.
After setting up a new user in the same section (“Users and Groups”), click on the lock icon and confirm the rights with the new user’s password. Then highlight the previous user and delete it by clicking on the minus sign. The system will offer to save the user’s folder in the disk image: if you have not made a backup copy, you can choose the first option. If done, click “Delete user folder.”
Once created, a new Mac user can be transferred to the future owner. But there is still a chance that some files or programs have not been deleted from the device.
Restore macOS to factory settings
Restoring your device to factory settings is Apple’s preferred and recommended method of preparing your computer for sale. After completing all the steps, you will format your hard drive and get your Mac out of the box.
1. Make a backup using Time Machine or any other program if you plan to deploy data to a new Mac.
2. Sign out of Apple ID: open Settings — Apple ID. In the Browse section, click Sign Out.
3. Deauthorize your Mac in iTunes to prevent the new owner of your computer from accessing your iTunes library. Open iTunes; select Authorize — Deauthorize this PC, then click Sign Out on the Account tab. This prevents the new computer from displaying a message stating that you have reached the five computers limit when you sign in to your iTunes library.
4. Sign out of iMessage. Open the Messages — Settings app and sign out of your account.
5. Shut down and restart your Mac by pressing and holding CMD + OPTION + P + R for 20 seconds until you hear a second beep or the second Apple logo appears. This will reset all NVRAM and PRAM memory parameters (settings that are stored in non-volatile memory).
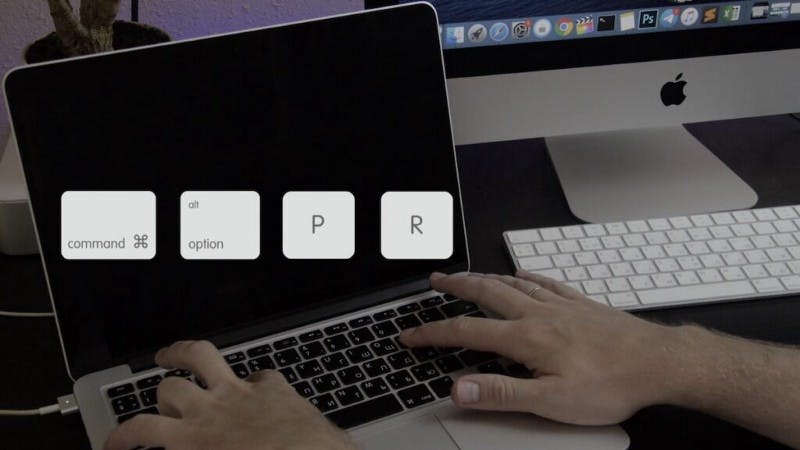
6. Restart your Mac and hold down CMD + R until the Apple logo appears — this will enter recovery mode.
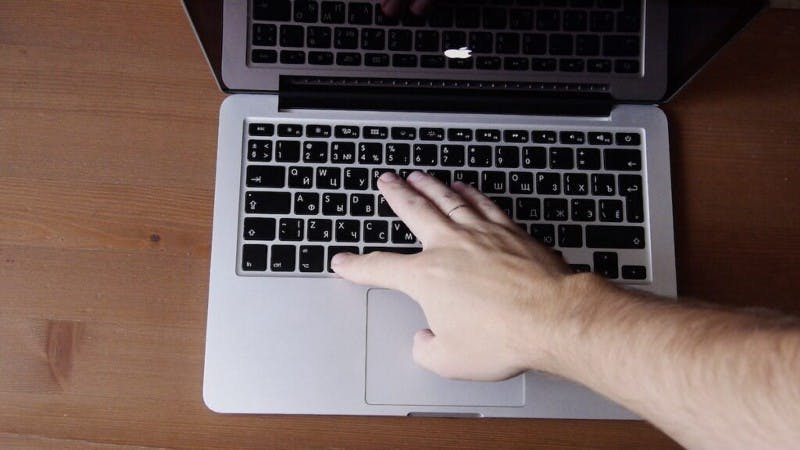
7. At this point, you will move on to formatting the disk and reinstalling macOS. If you do not have a macOS bootable USB stick, the system will be downloaded from the Internet, so ensure uninterrupted access in advance.
8. In recovery mode, select macOS user, enter the password. In the Disk Utility app on your Mac, choose View > Show All Devices. Right-click on the drive at the top of the left menu (Apple SSD) and select Erase.
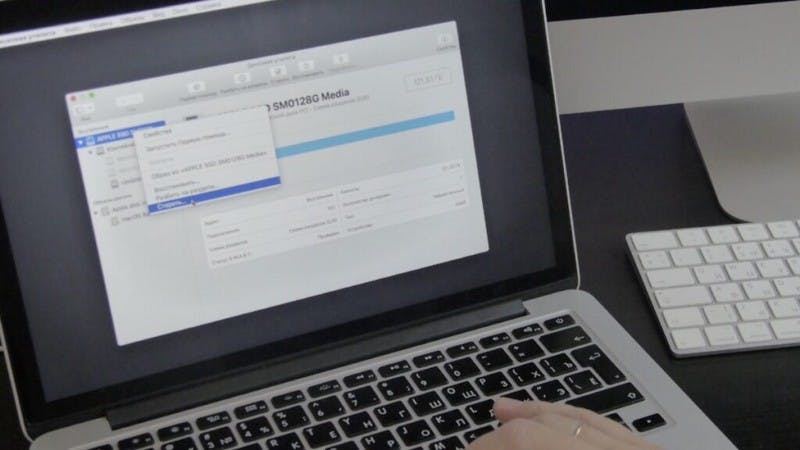
Enter a new name for the drive, select the APFS file system, GUID partition scheme, and click Erase again. Formatting takes a little time: it took less than a minute to format a 128 GB drive. Then in the utility window, select Reinstall macOS here and select the only available disk — the installation of clean macOS will begin.
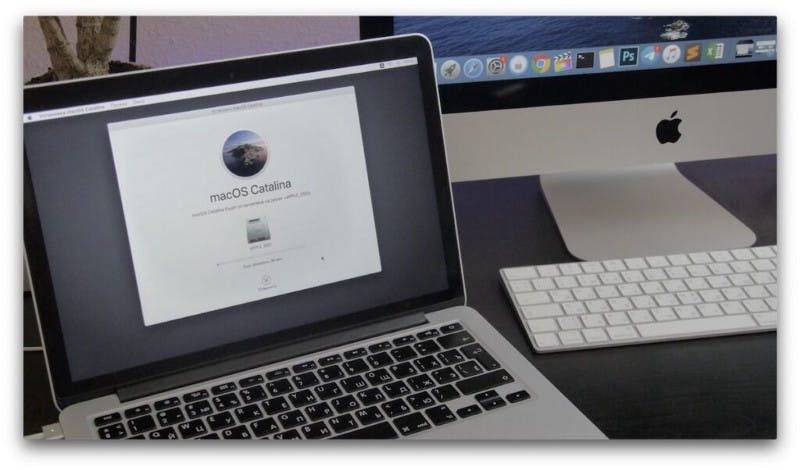
9. Installation can take up to an hour as macOS is downloaded from the Internet. After installing macOS, exit the setup wizard by pressing CMD + Q without completing the setup, so the new user can set up the device themselves.
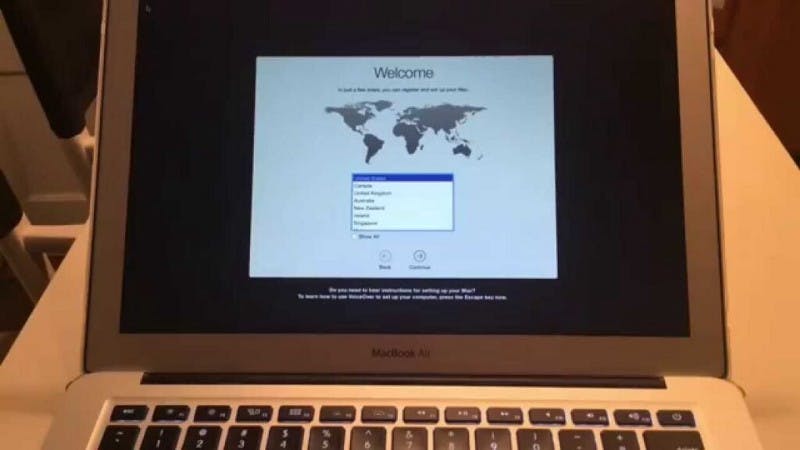
After restoring to factory settings, your Mac looks like it is out of the box. When turned on, the new owner will have to customize macOS for himself.
Finally, wipe the display and shake out any crumbs from the keyboard. Take the box, paperwork, and receipt from your Mac if you still have them.
